

Money
Expenses
Record organization spending with supporting evidence, add expense categories, and review expense totals.
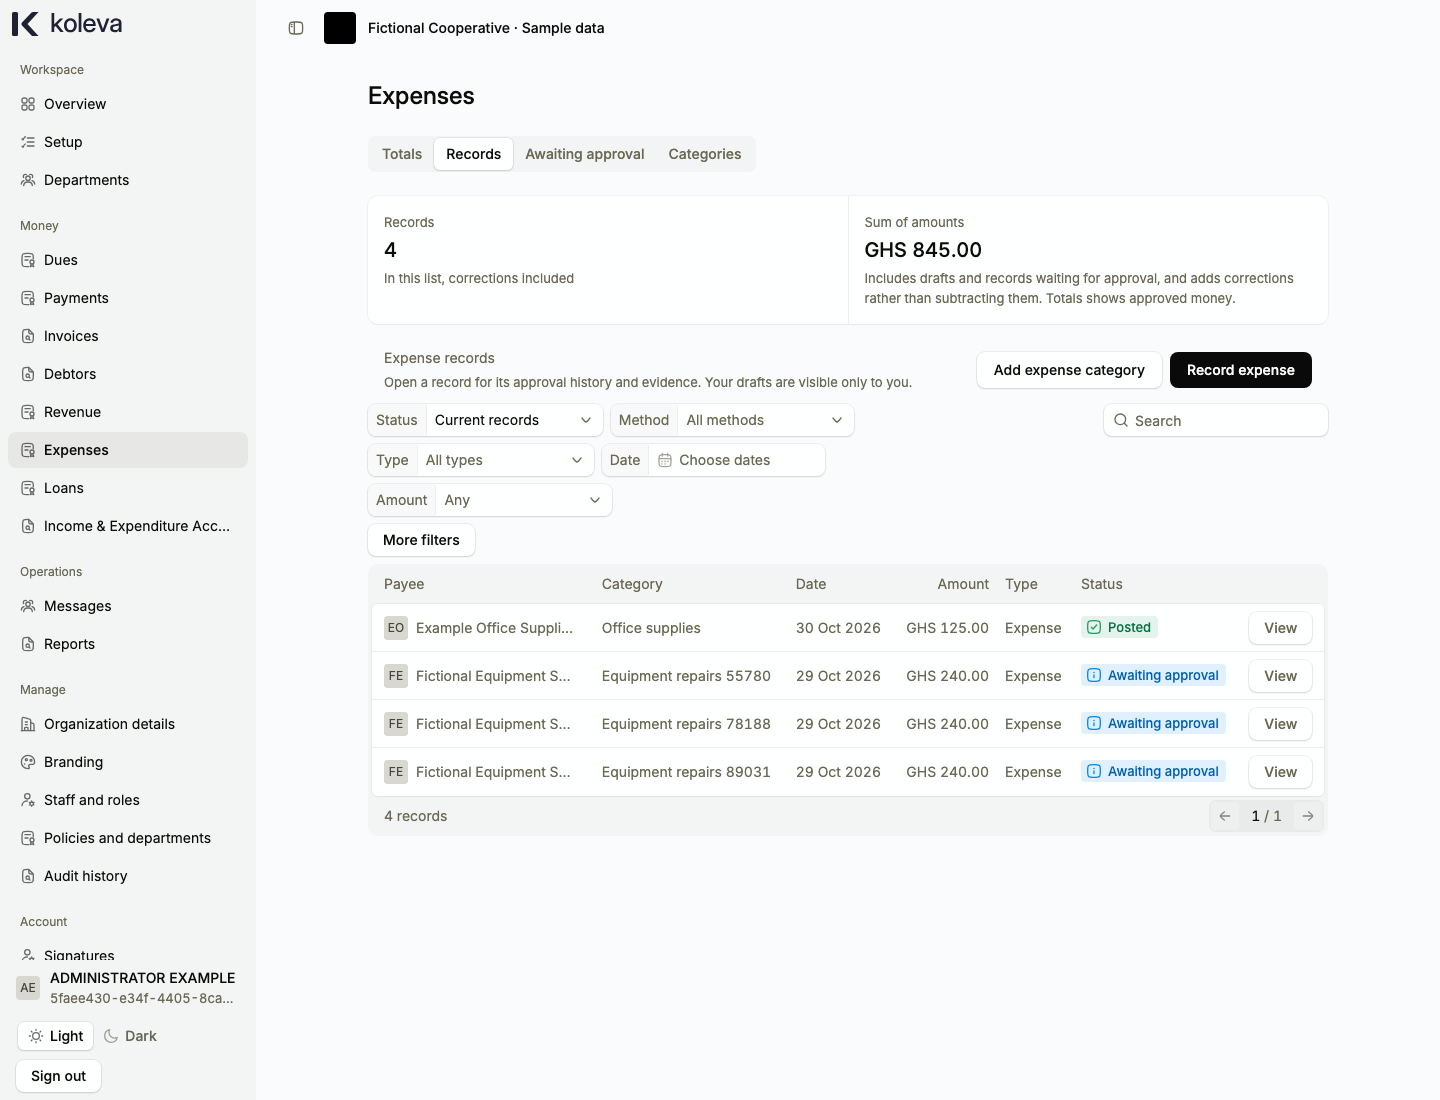
What this screen is for
The Expenses screen lets Administrators and Accountants record and review your organization’s day-to-day spending, attach private receipts or invoices as evidence, and track total outflows by month and category. Loan disbursements are shown separately from ordinary operating expenses.
Before you start
- You need an Administrator or Accountant role in an active organization.
- Your organization must have at least one spending account configured and an approved expense category.
- You must have an image or Portable Document Format (PDF) file (up to 500 kilobytes; large photos are resized automatically in your browser) to attach as supporting evidence for every expense.
Step by step
- Select Expenses in the sidebar, then select Record expense (or open the Records tab first to browse existing entries).
- Choose an approved expense Category. If the category you need does not exist yet, select Add expense category beside the picker to propose and approve it without leaving the form.
- Enter the payee name, the purpose of the spending, the amount paid, the actual payment date, the payment method, and the money account used.
- Upload supporting evidence (such as a vendor receipt, bill, or bank slip) and select Continue.
- Review the summary, confirm that the money was actually paid out, and select Send for approval.
- An Administrator opens Expenses -> Awaiting approval, checks the attached evidence, and approves or rejects the expense.
Common questions
Does an approved expense generate a Koleva receipt?
No. Official Koleva receipts are issued for money your organization receives. For expenses, Koleva stores the vendor receipt or supporting evidence that you upload with the record.
What if an expense was recorded for the wrong amount or refunded by a vendor?
Open the posted expense record and submit a linked Reversal (for a mistaken entry) or Refund (when the vendor returned the money, which requires uploading evidence). After an Administrator approves the correction, you can record a fresh expense with the right details.