

Money
Revenue
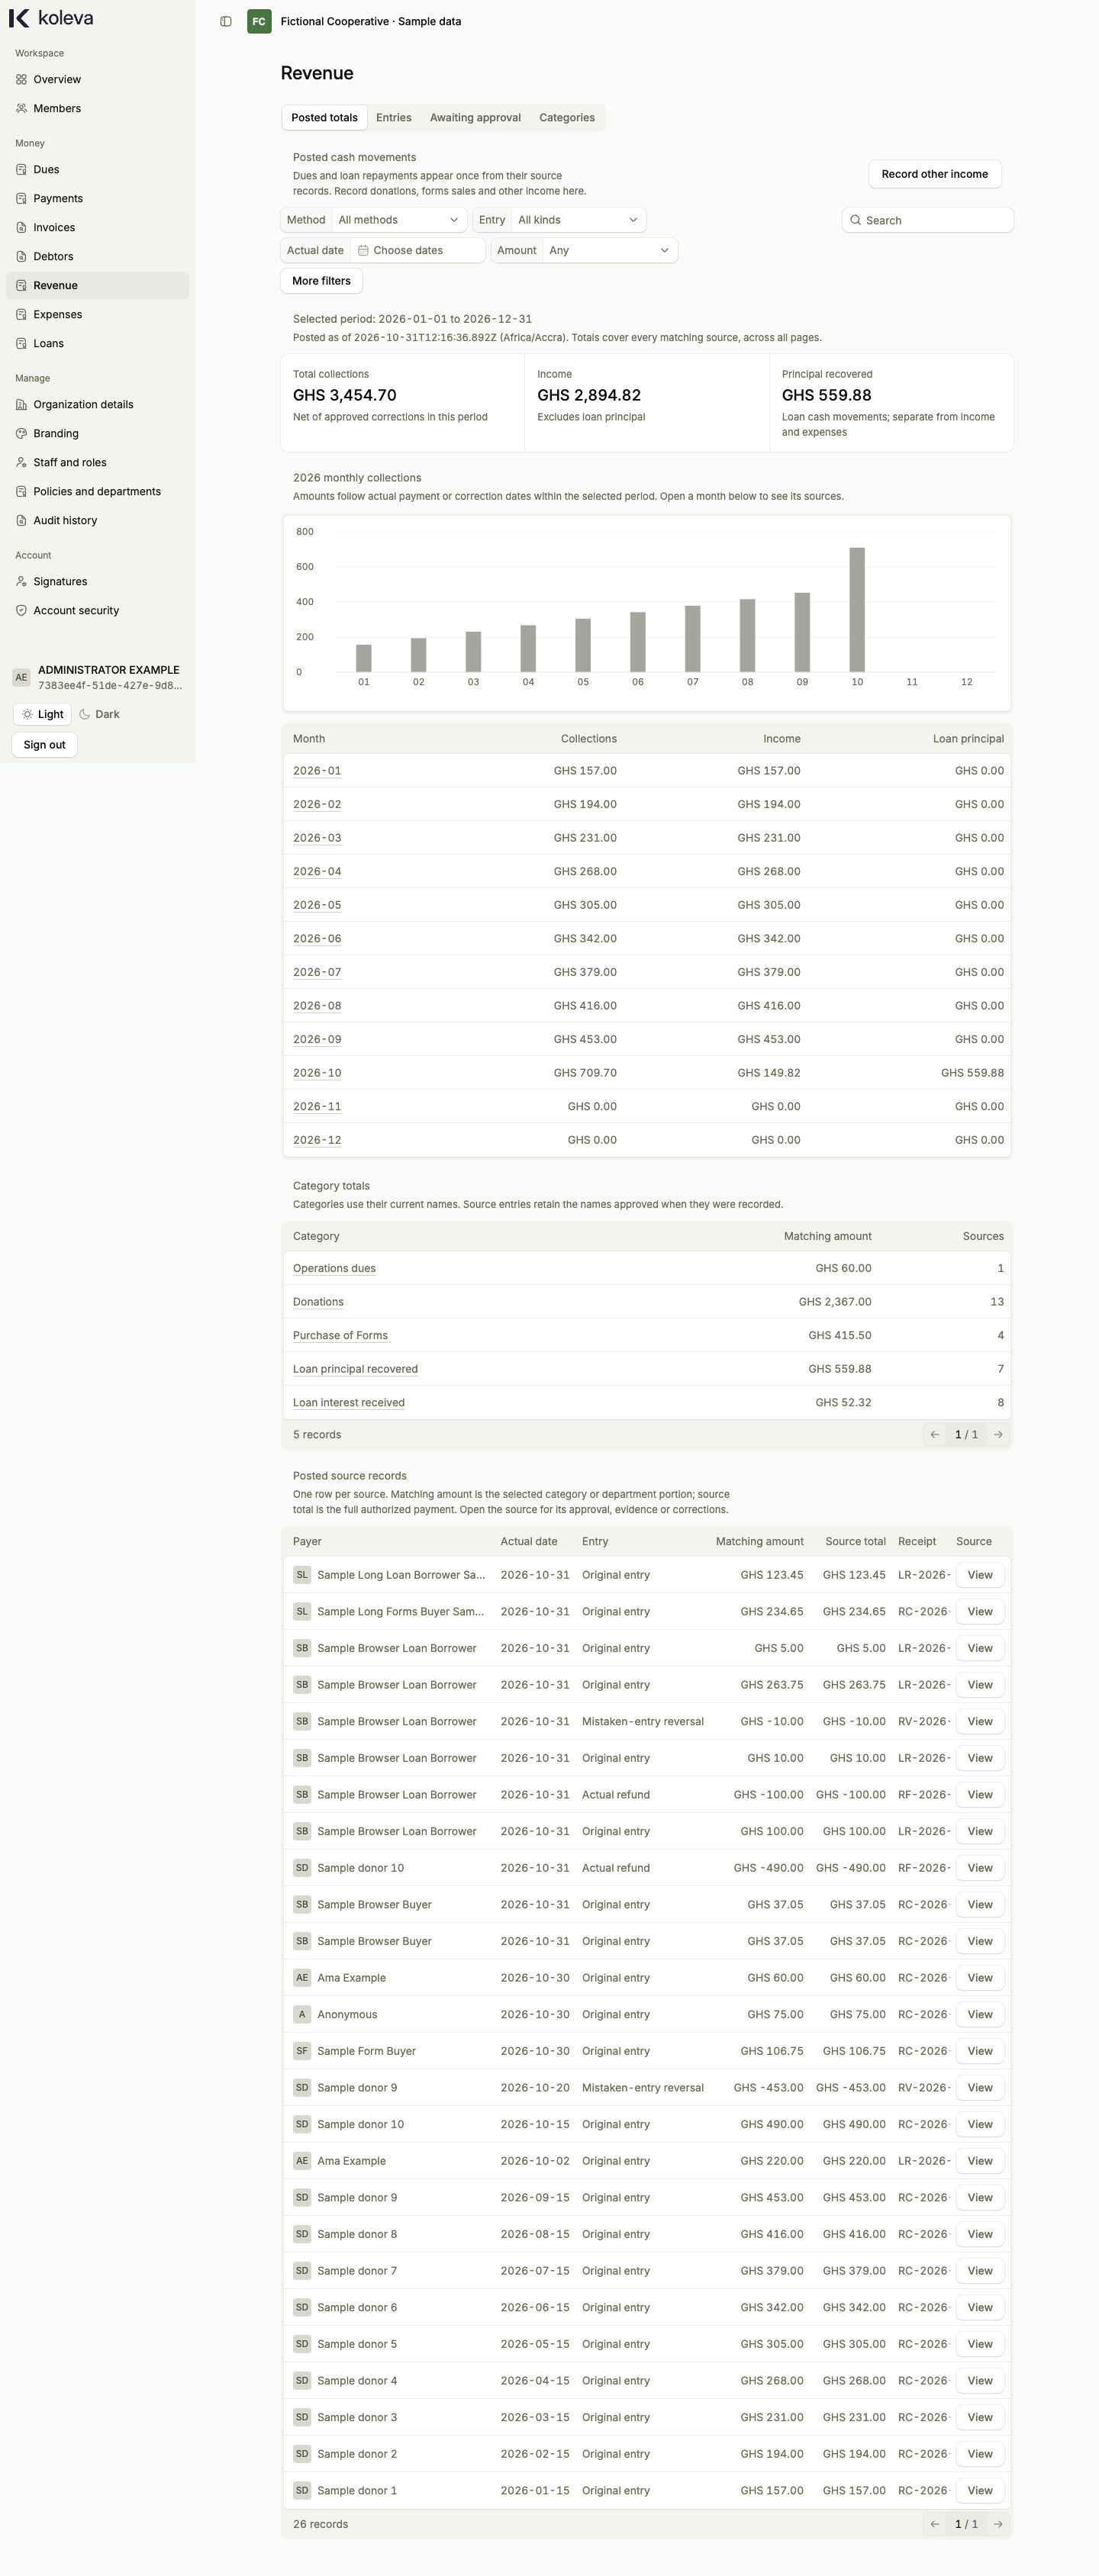
View total collections and income, manage income categories, and record donations, form sales, or custom income.
What this screen is for
The Revenue screen shows all approved money received by your organization, keeping operating income (such as member dues, donations, and form sales) clearly separate from loan principal repayments. You also use this screen to record non-dues income and issue official receipts for those collections.
Before you start
- Your organization must have money accounts configured in Payments -> Collection setup.
- An Administrator with organization-wide finance access must create and approve at least one income category on the Categories tab before you can record donations, form sales, or custom income.
- You need an authorized signatory on Signatures to issue income receipts.
Step by step
- Select Revenue in the sidebar. To add an income category first, open the Categories tab, enter a category name and entry kind (donation, form sale, or custom income), map it to an income account, and approve it.
- Select Record other income to open the focused entry flow.
- Choose the income category, enter the payer or donor name (or mark a donation as anonymous), and fill in the amount (or quantity and unit price for form sales).
- Enter the actual date the money was received, select the payment method, money account, reference, and authorized signatory, and attach optional supporting evidence.
- Review the entry, confirm that you received the actual money, and select Send for approval.
- An Administrator opens Revenue -> Awaiting approval and approves the entry to post the income and generate an official Portable Document Format (PDF) receipt.
Common questions
Do I record member dues or loan repayments on the Revenue screen?
No. You record member dues under Payments and loan repayments under Loans. Once approved, those collections automatically appear in the Totals view on Revenue with links back to their original records.
How do I fix a mistake on a posted income entry?
Open the posted entry on the Records (or Entries) tab and choose either Reverse entry (when the entry was recorded in error and no money moved back) or Refund entry (when money was returned to the payer, which requires uploading evidence). An Administrator must approve the correction.